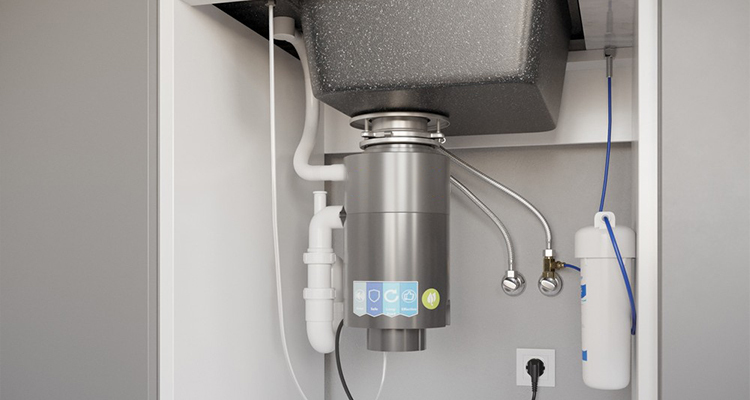
How To Prevent And Resolve Garburator Jams
November 15, 2024
November 15, 2024

Garburators, or garbage disposals, are a convenient addition to any kitchen, helping to manage food waste efficiently. However, like any appliance, they are prone to issues, with jams being one of the most common problems homeowners face.
A jammed garburator can be frustrating, potentially leading to clogged drains, unpleasant odours, and even damage to the unit if not addressed promptly. It can disrupt your daily kitchen routine and may require costly repairs or replacements if ignored.
Addressing the issue early on helps maintain the efficiency of your garburator and extends its lifespan. This blog will guide you on how to prevent garburator jams and provide practical steps to resolve them if they occur.
Before diving into prevention and solutions, it’s crucial to understand why garburators jam in the first place. Several factors contribute to a jammed garburator, including:
Understanding these causes can help you prevent common issues and keep your garburator running smoothly.
Preventing garburator jams is easier than dealing with them after they occur. Here are some practical tips to keep your garburator functioning well:
Always run cold water while using the garburator and keep it running for a few seconds after turning off the unit. Cold water helps solidify any grease or fats making it easier for the garburator to chop them up and flush them through the pipes.
Break down large chunks of food waste into smaller pieces before putting them down the garburator. This reduces the load on the blades and prevents potential jams.
Even if you don’t have much food waste to dispose of, run the garburator occasionally with cold water. This helps prevent rust and keeps the moving parts in good working condition.
Feed the food waste into the garburator gradually rather than dumping large amounts at once. Overloading can strain the unit and lead to jams which can even result in installing a new garburator.
Even with the best preventive measures, garburator jams can still happen. Here’s a step-by-step guide to safely resolve a jammed garburator:
Before attempting any repairs, turn off the power to the garburator. Unplug the unit or turn off the circuit breaker to avoid accidents.
Use a flashlight to look inside the garburator for any visible blockages or foreign objects causing the jam. Common culprits include bones, utensils, or large food particles.
Most garburators come with a specialized wrench designed to fit into a socket at the bottom of the unit. Insert the wrench and turn it clockwise and counterclockwise to manually rotate the blades and dislodge the jammed material.
If you spot any objects inside the garburator, use tongs or pliers to carefully remove them. Never use your hands, even if the power is off, to avoid potential injuries.
Once the obstruction is removed, reset the garburator. Most units have a small red button at the bottom. Press this button to reset the motor.
Turn the power back on and test the garburator with cold water running. If it runs smoothly without any unusual noises, the jam has been resolved. If not, repeat the steps or consult a professional plumber.
At Jack’d Up Plumbing, we understand how frustrating a jammed garburator can be. Our team of skilled plumbers in Calgary is equipped with the experience and tools needed to quickly diagnose and resolve garburator jams, ensuring your kitchen is back to normal in no time.
Don’t let a jammed garburator disrupt your day! Contact Jack’d Up Plumbing today for professional garburator repair and maintenance services in Calgary